
Learn “How to Installing and Staring NetBeans IDE” Java Programming.
How to Installing and Staring NetBeans IDE
To install NetBeans IDE, first you have to download it and then follow the instructions given below to install it.
Step 1: Visit https://netbeans.org/downloads/ in your browser.
Step 2: Click to select the appropriate NetBeans bundle to download (Figure 1).

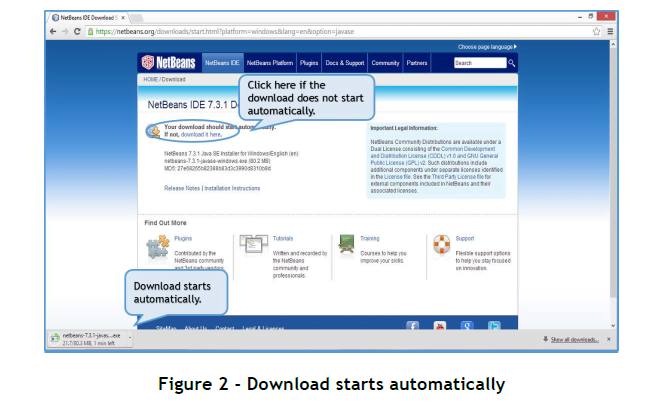
Step 3: Once you click on the Download button the screen as per Figure 2 will appear and the download will start automatically.
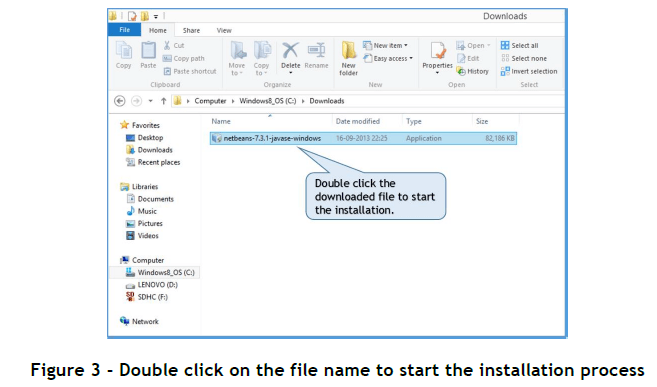
Step 4: Once the download completes, use the File Explorer to navigate to the file that was just downloaded. Double click on the file name to start the installation process (Figure 3).
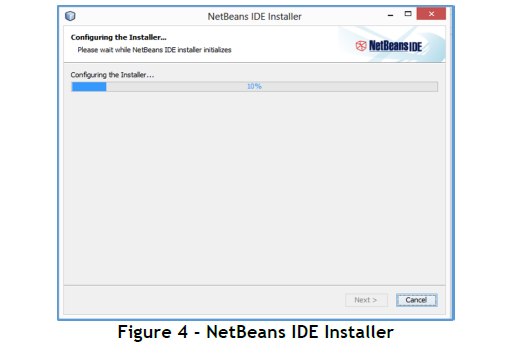
Step 5: You might see a User Account Control Window asking whether you want the program to make changes to your computer. Click on the “Yes” button. Once the installation begins, you will see the NetBeans IDE Installer window as in Figure 4.
Step 6: Once the NetBeans IDE Installer has been configured, the Welcome screen appears, Click on Next (Figure 5).

Step 7: Check the selection box to Accept the License Agreement and click on Next (Figure 6).

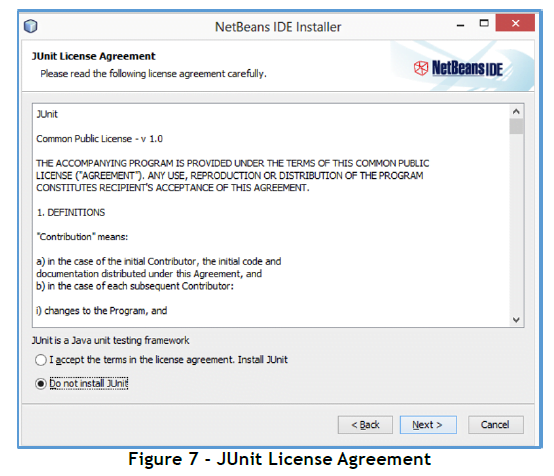
Step 8: In the JUnit License Agreement screen that appears, Click on Next (Figure 7).
Step 9: Choose the Installation folder and Click on Next (Figure 8).

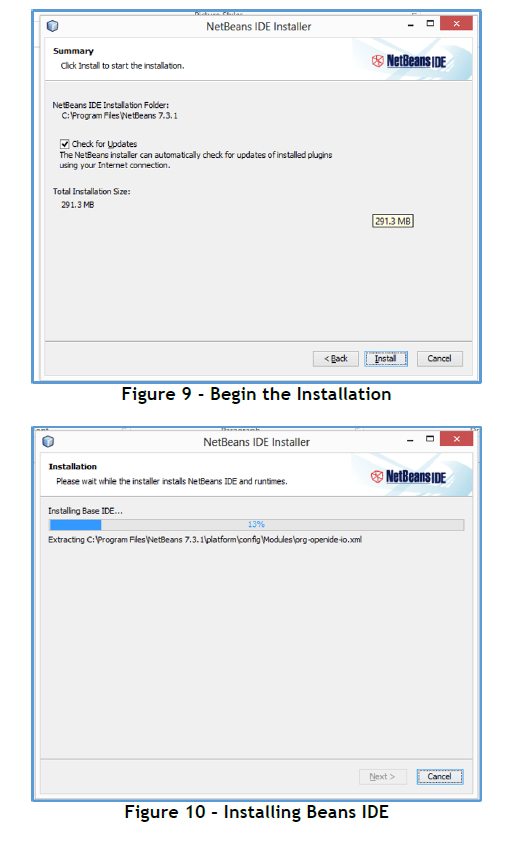
Step 10: Click the Install button to begin the Installation (Figure 9). The installation will begin as shown in Figure 10.
Step 11: Click on Finish to complete the Installation Process (Figure 11).

Step 12: An icon to start NetBeans will be installed on your Desktop (Figure 12). Double click the icon to start the Java NetBeans IDE.

The required modules are loaded and NetBeans IDE started (Figure 13).


Finally, the NetBeans IDE will be presented to you (Figure 14). As a beginner, you must take some time to familiarize yourself with the interface, and go through the appropriate demos and tutorials.