Home » Online Computer Education » Learn Fundamentals of Java Programming “Adding the mysql connector JAR to the NetBeans Libraries in Java Programming ” Lesson 28
Learn Fundamentals of Java Programming “Adding the mysql connector JAR to the NetBeans Libraries in Java Programming ” Lesson 28
Adding the mysql connector JAR to the NetBeans Libraries
Before writing the Java program to connect to the database, we have to also add the mysql connector JAR file to the Libraries in our project. The following steps show you how to do just that:
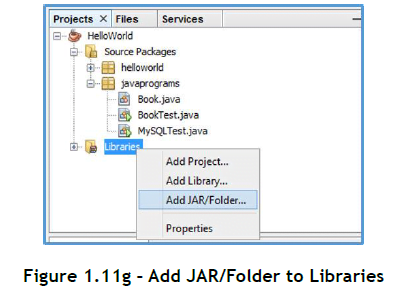
Step1: Under the Projects tab, right click on the Libraries node and select ADD JAR/ Folder… (Figure 1.11g).
Step 7: In the Add JAR/Folder dialog box that appears, navigate to the your NetBeans Installation Folder. Then navigate to the /ide/modules/ext folder and select the mysql-connector-java-5.1.23-bin.jar file. Click on Open (Figure 1.11h).

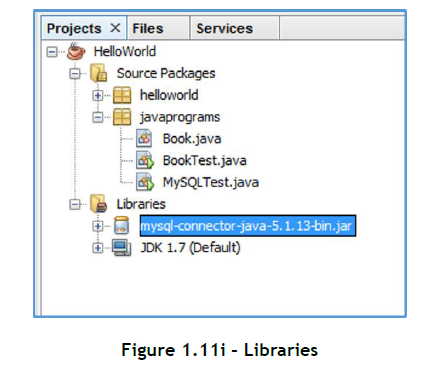
Now, expand the Libraries node (click on the + sign on its left), the mysql connector jar should have been added to the NetBeans Libraries (Figure 1.11i).