How to Install Apache for Windows
Because it’s the most popular Web server in use, you might think that Apache is a complicated piece of software. but it’s not difficult at all.
Installing Apache for Windows is a simple task, due in great part to the Installation Wizard distributed by the Apache Group Whether you’re using Windows 95,98,2000, XP, NT, Vista or Windows 7-8, the installation process of the precompiled binaries is definitely the way to go , and the same installation file is used for all flavors of Windows.
Being able to use Apache on consumer-oriented operating system such as Windows 95,98,2000, XP, NT, Vista or Windows 7-8 doesn’t mean that you should use it , at least not in a production environment. Simply put, running any Web server on a Windows operating system is not as as fast, stable, or secure as running a Web server on a Linux/UNIX machine. However, installing and configuring a development Web server on a Windows-based operating system is perfectly acceptable and is how most users get their start.
To download the Apache distribution for Windows, start at the Apache Server Web site, http://tomcat.apache.org/ and following the link to Download. Before going any further, be sure to follow the link in the sentence, ” if you are downloading the Win32 distribution, please read these important notes. ” (The actual link depends on the mirror you are using.)
When you’ve determined your system is table enough to continue, look for the bulleted item on the page for Win32 Binary (MSI Installer), followed by a link to the software.
Distribution files follow a naming convention, with apache followed by the version number and then apache-tomcat-8.0.5 . As of this writing, the current version is
Once you have download the installation file to your hard drive, the following steps will take you through the Installation Wizard.
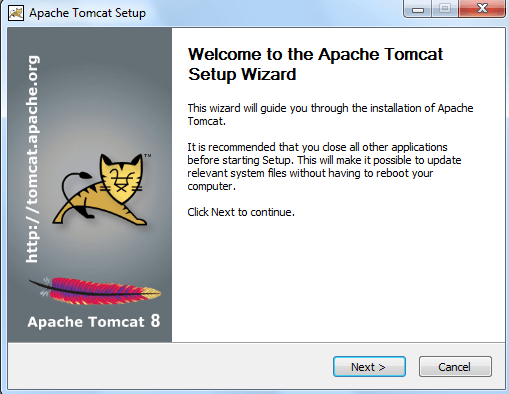
- Double-click the file called apache-tomcat-8.0.5. The installer will start, and the Installation Wizard will begin. click Next to continue.
- Read the licensing information on the screen, choose the I Accept radio button, and then click Next.
- Read the general Apache information on the screen and then click Next.
- The next screen requires you to fill in some details about your server : the network domain, server name, and the administrator’s e-mail address.
- Choose the Run as Service for All user radio button and click Next.
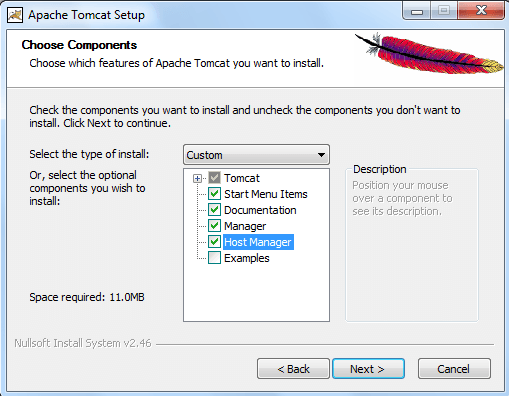
- Choose the Typical setup type and click Next.
- Accept the default destination folder and then click Next.
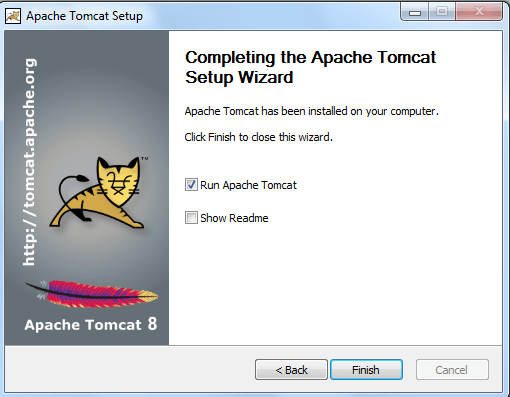
- Choose installation on the next screen, and the final installation sequence is finished, you will see the confirmation screen. Click Finish to complete the installation and close the installer.
- At this point, all of the necessary Apache files are installed, as we as a group of handy shortcuts in your Windows Start menu, called Apache HTTP Server 2.2.4. To run a basic test before moving forward into configuring your server, choose Program Files, Apache HTTP Server 2.2.4, Configure Apache Server, Test Configuration from the Windows Start menu. This will launch a console window showing a successfully installation.
If you have any errors at this point, rerun the installation program.
Configuring Apache on Windows
To run a basic installation of Apache, the only changes you need to make are to the server name, which your might already have done during the Installation Wizard. However, if you entered dummy information for the server name or want to modify any other part of the basic configuration, now is the basic time to do so.
The master configuration file for Apache is called http.conf, and it lives in the conf directory, within the Apache installation directory. So if your installation directory is C:\Program Files\Apache Group\Apache2\, the httpd.conf file will be in the C:\ Program Files\Apache2\conf\.
Again with the handy shortcut, you can quickly access the file by selecting Program Files, Apache HTTP Server 2.2.4, Configure Apache Server, Edit the Apache httpd.conf Configuration file from the Windows Start menu. This shortcut is the same as opening a text editor and navigating to the file location. To modify the basic configuration, primarily the server name, look for a heading called Main Server Configuration. You will find two important section of text. We are goint to change these values so that Apache knows where to direct traffic from and to.
- Change the value of ServerAdmin to your e-mail address, if it isn’t already accurate.
- Change the value of ServerName to something accurate, if it’s isn’t already.
- Save the file.
The ServerName modification is the most important change you’ll make to your Apache configuration file because if the SErverName isn’t correct, you won’t be able to connect to Apache. As it states in the configuration file itself, “You cannot just invent host names and hope they work. ” If you do not know your full machine name, you can use an IP number. If you have a static IP Number ( that is, one that doses not change), use it as you ServerName. If you have a dial-up connection that does not assign a static IP (that is, your IP number changes each time you connect to your Internet service provider), you will have to change the IP number in httpd.conf each time you dial up.
Once the appropriate modifications are made to the httpd.conf file. Apache is ready to run on your machine.
Starting & Configuring to Apache.
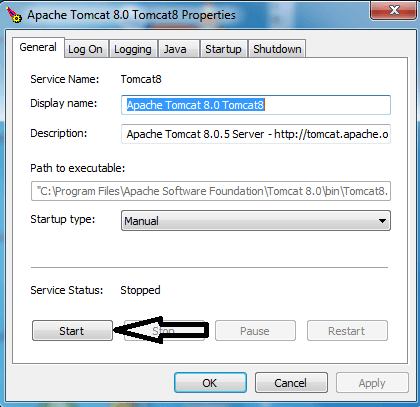
To first start the Apache server, select Program Files, Apache HTTP Server 2.2.4, Control Apache Server Start form the Windows Start menu. This will launch a console window, which will then close. Apache will be running in the background.
With your Web server running, you can connect to the server via your Web browser fo choice. The Url will be whatever you used as ServerName–an actual name or IP, localhost, or 127.0.0.1.
To Test your installation, open your Web browser, type http://127.0.0.1/ in the Location bar, and press Enter. You should see a default web page.
This default Start page come from the htdoc directory within your Apache installation directory. You can go into that directory and delete all the default files if you want to, or you can leave them. They’re not hurting anything, but you’ll eventually be filling the htdoc directory with your won files and sub-directories so you might want to delete them now fro the sake of good housekeeping.


